
Website Creation
For a budding social media campaign a website is the thing that connects all your various outlets. It has links to your Facebook, Email list, Twitter, and potentially blog posts. This week I tackled the daunting task of setting up our own website for Celestialpod. However, first I realized I needed to understand how to host a website at all.
A while ago I started creating an updated online portfolio/website/blog. Once I finished the project, made sure it was all connected properly, and had the needed images, I tried to host it on GitHub pages. The response aws repeated “build page failed” messages. So when I started the task of making our website, I knew that it was going to be necessary to understand what was going on in order to make any progress.
The state issue was a supposedly open bracket in a ReadMe template file. However, in the build failure message itself it included the correct closing brackets it then said to add. Nothing I did got rid of the failure. Even if I deleted the trouble file it would simply go to the next plugins ReadMe and break. Once I discovered this I started to think that it might not be the code itself, but rather with GitHub.
GitHub uses a system called Jekyll. It can be understood as a way to easily manage a large site through configuration files. This system is built innate into GitHub and is set up as an opt-out function. The theme I was using was built for BootStrap which is has primarily HTML/CSS/JavaScript based structure. Thus, GitHub was trying to use Jekyll to build my site and it was causing the website to crash upon build. Once I opted out of Jekyll, which on windows requires you to name a blank file “.nojekyll.” instead of “.nojekyll,” all my problems seemingly disappeared. The theme was able to be built to GitHub and I finally understood how to easily use GitHub to host websites.
Throughout this whole process I gained a deep familiarity with the requirements around hosting on GitHub. In order to properly test the code without disrupting what I previously had, I needed to set up multiple repositories on GitHub. These new pages also have a different structure to them, and need special settings in order to function properly. With this knowledge I can now confidently face issues when setting up our team’s website.
I plan to use more Bootstrap themes on the Celestialpod page. The reason for this is that they tend to easily work with mobile automatically, and I’ve become accustomed to working with HTML. However, this means that I will need to use more than one free theme in order to both have a simple landing page and a blog page. Using the knowledge I’ve gained, I set up two repositories: one has the landing page while one is solely dedicated to the blog.
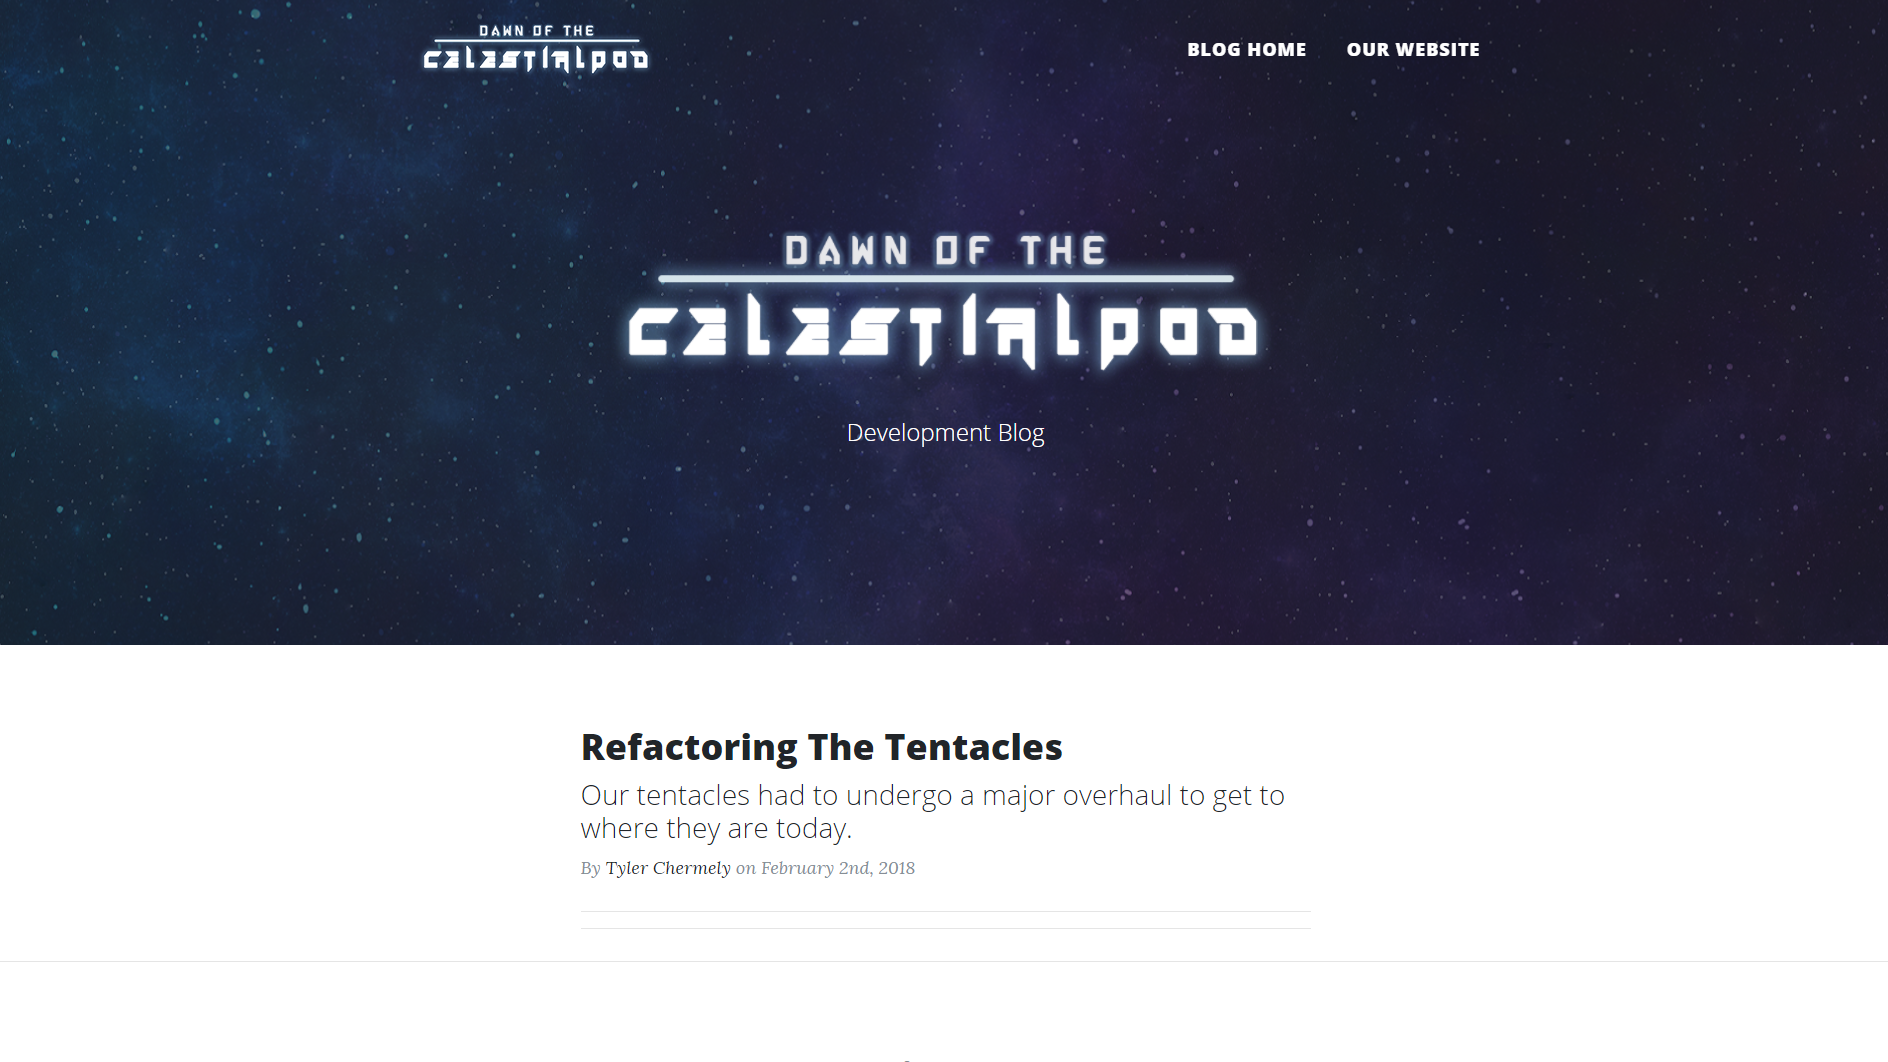
These are easily able to be linked back and forth since I can merely use the https address for each. It also means, once finalized, I only need to go into the blog repository to add posts instead of opening the landing page. The hard part is setting up both websites to look slick and that all the bells and whistles work. Thankfully the Blog site was pretty easy to setup, and we’ve begun posting, but the base website isn’t so friendly.
My main issue has been in regards to the “Features” section where we lay out the main features. Unfortunately I wasn’t able to solve all the issues that popped up, including a max file size upload limit that I ran into right at the end. In order to solve this I’m planning on messing around with Git Large File Storage. Expect another blog post to explore that bit!
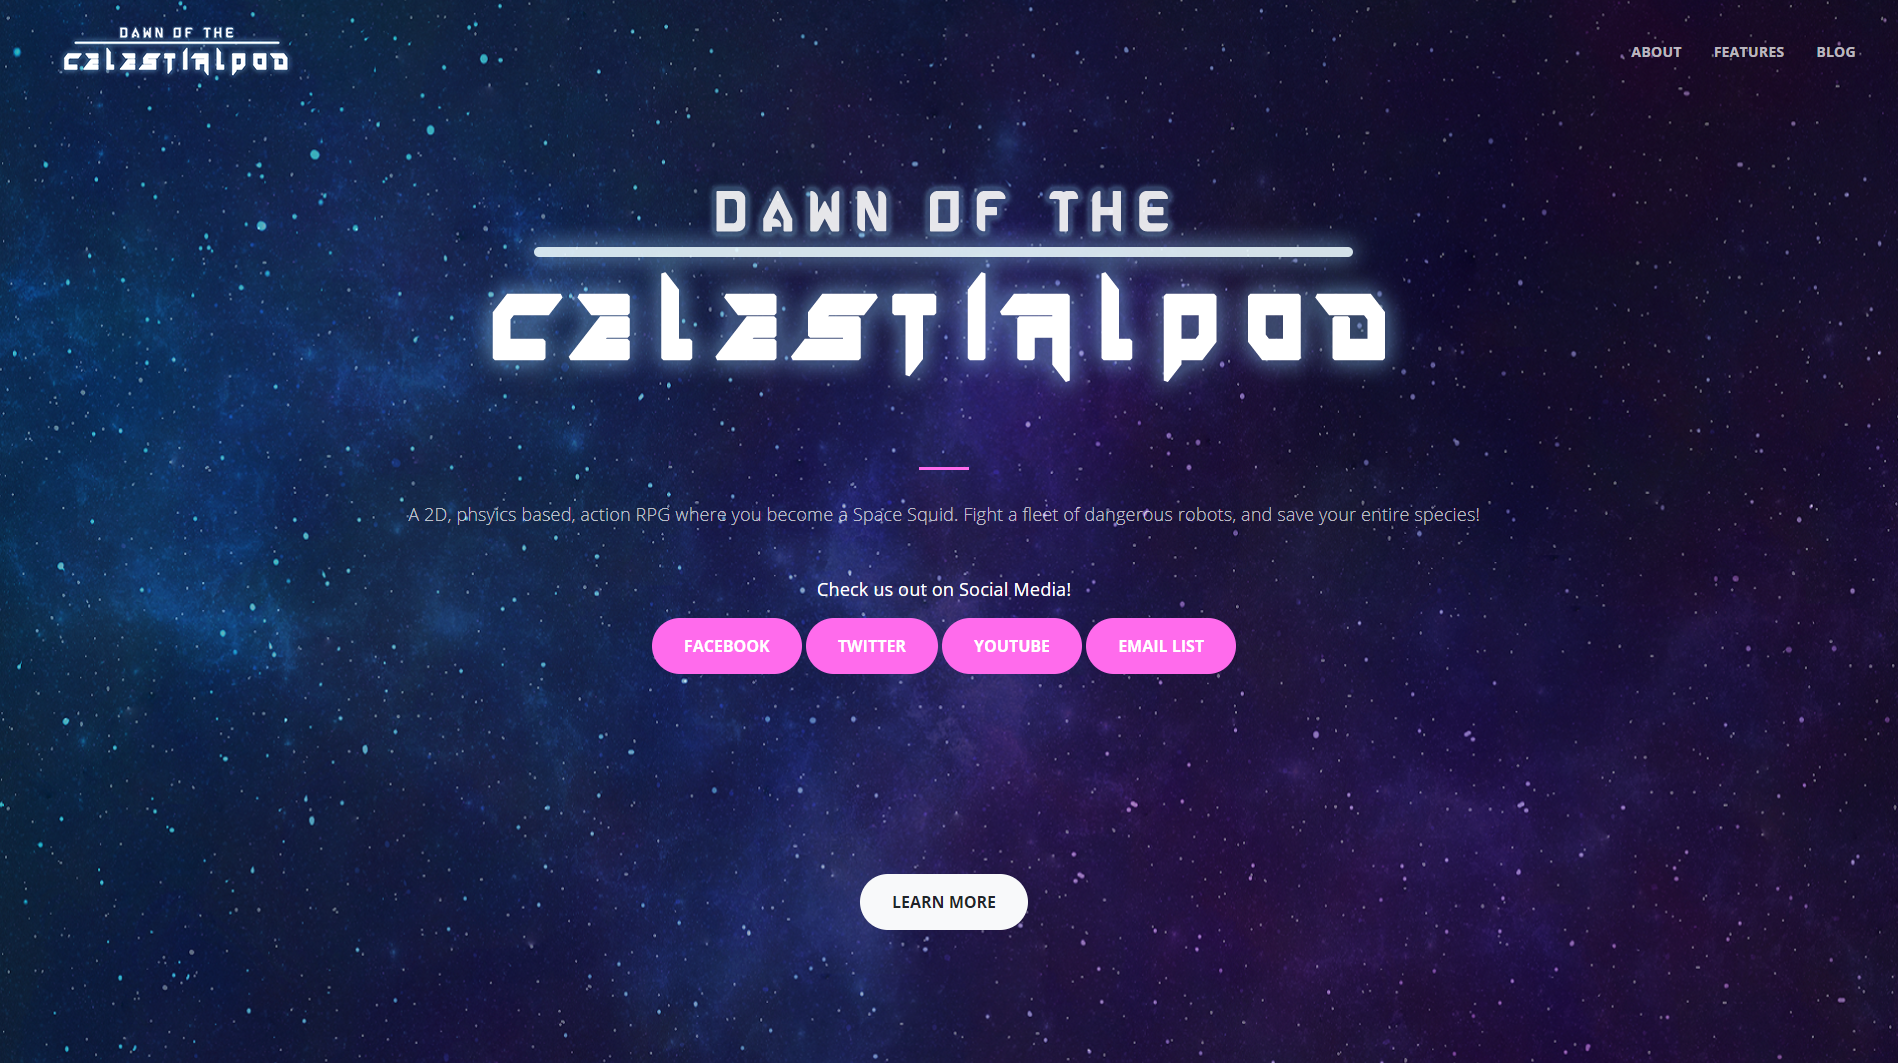
All in all I feel like I’ve become a lot more confident working with HTML as a result of this project. The team seems really excited with how the landing page looks, and I’m pumped to start sharing it. If the base website isn’t done by Sunday though I’m going to be pretty sad.
Thank you for reading!
Enjoy the read? Want to chat? Follow me on Twitter @LiamCraffey